Facial Recognition
By default, your Vidigami site is set up to recognize if a photo has one or more faces that can be tagged.
There are two ways you can associate a face with a person: Manually and using our Artificial Intelligent (AI) system called "Is This Me?". NOTE: Is This Me is disabled by default. Schools can request it be enabled by completing this short form. There is no additional cost.
To be able to use either system, your users must be added to Vidigami. Only users added can be tagged.
MANUALLY
- Click on any photo.
- Click on the Face Tag icon.
- Click on a face in the photo.
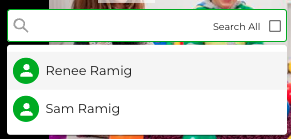
- By default, your name and the name of your child(ren) enrolled at the school will show up as options.*

- Click on a name. If a user is not listed, type in the first few letters of that user's name in the search field.*
- Repeat for additional faces in the photo.
- All tagged photos gets added to the user's portfolio.
If you are tagging an individual that is not part of the current school year, use the "Select All" option to see users from past years.
*Tagging users other than yourself and your children is set by the school. If you are not able to tag users, reach out to your school's Vidigami Admin.
IS THIS ME - AI Assisted Facial Recognition?