![Vidigami_Wordmark_K.svg]](https://help.vidigami.com/hubfs/Vidigami_Wordmark_K.svg)
Vidigami Administrators have three options for adding users:
- Importing from a .csv
- Integrating with Blackbaud, Veracross, or Wonde
- Adding manually
Each year a school must "onboard" so that Vidigami will be updated to "know" who the current faculty, staff, parents, and students are. Onboarding can be done through two .CSVs - one to import the users and one to create the parent / student relationships. Currently, Vidigami is required to do .csv importing, but our development team is working on improving the onboarding process to allow school Vidigami Admins to do this too.
If your school uses Blackbaud, Veracross, or an SIS that is supported by Wonde, we can help you set up an integration with Vidigami. When you update your SIS to the new school year, you will sync with Vidigami to onboard.
During the year, you can manually add users to Vidigami. (NOTE: if you are using the integration option, you can sync at any time throughout the year to update your users.) You might also want to manually add non-school users that need access to Vidigami, such as a professional photographer.
To manually add a user:
Go to the Admin area of Vidigami and click on your school name. Then select "ADD USER": 
Type in the first and last name of the user you want to add and click "CREATE NEW":
Fill in the information - First Name, Last Name, and Host ID are required. NOTE: Ensure that you record the Host ID someplace for reference, as this is what Vidigami uses to update records. If the Host ID is changed, you will end up with duplicate accounts.
If the user will be logging in and using Vidigami, you will also need to include an email address, Role, and User Type. If the user is a Student, a graduation year is also required.
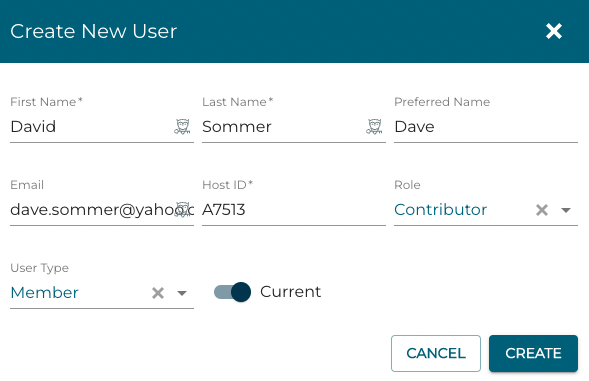
Click "CREATE" to add the user.
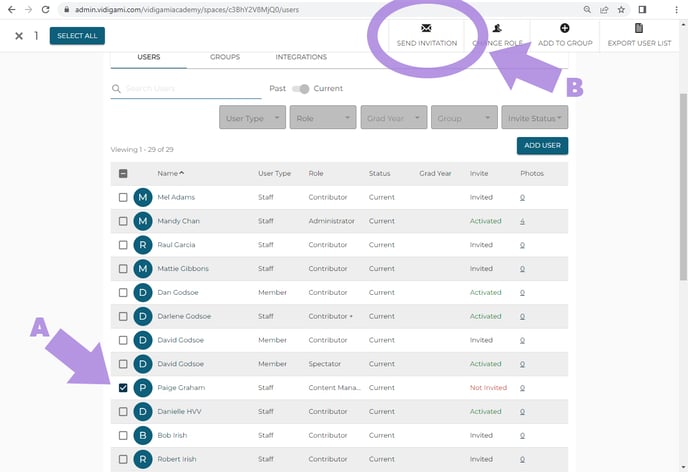
Send them an invitation so that they can activate their account:
A. Click on the square to add a checkmark next to their name
B. Click "SEND INVITATION":