![Vidigami_Wordmark_K.svg]](https://help.vidigami.com/hubfs/Vidigami_Wordmark_K.svg)
Administrators can create Custom Roles with any combination of role-permissions, which can then be assigned to one or more users.
TO CREATE A CUSTOM ROLE:
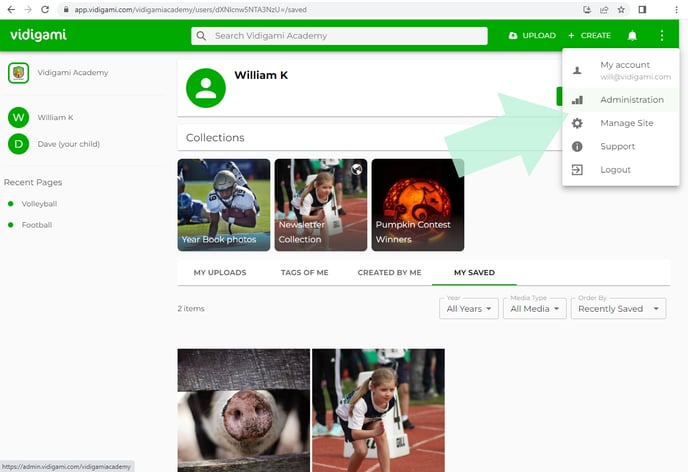
Go to the Vidigami Admin area:
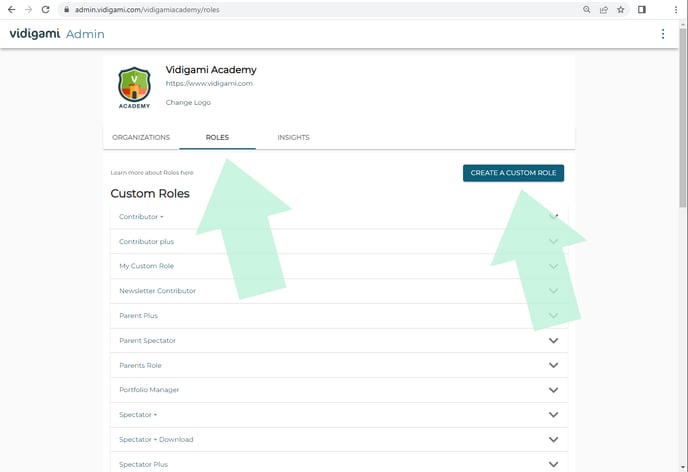
In the Roles tab, click on "CREATE A CUSTOM ROLE":
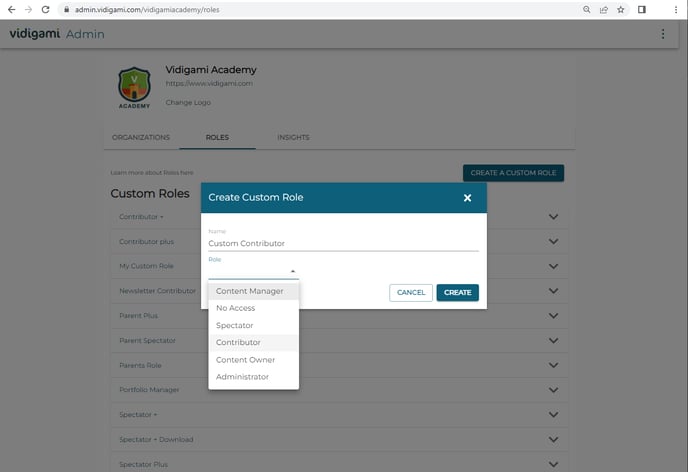
In the "Create Custom Role" pop-up, enter a name for the new Role, choose the closest equivalent Role type from the pull-down, then click on "CREATE". (This is just to start the process.):
From the updated Custom Roles list, locate and click on the new Role name to expand and display the permission feature options:

Check / un-check the permission features that you want to apply to this Role, then click "SAVE":
Role Permissions are defined as follows:
|
Add Albums
|
User can create an album on a Page they have permission to upload to.
|
|
Apply Keywords
|
User can add keywords to media during upload as well as after upload in the lightbox.
|
|
Content Moderation |
Allows the user to approve content uploaded to a Page set to be moderated. |
|
Basic Download |
Download one image at a time. |
| Original Quality Download | Download multiple images at a time with a choice of Web or Original quality. |
| Embed Videos | Allow users to add video links from Youtube or Vimeo which will embed the video on a Page in Vidigami. |
| Upload Videos | Allows users to upload Video up to 1440mb. (NOTE: Video upload is not enabled by default for schools. Reach out to help@vidigami.com if you would like it enabled. There is no additional cost.) |
| Manage Content | Allows Users to manage and create Pages & Albums in all Containers. Can access Reported Media area. |
| Manage Media | User can access all media on all Pages. (This overrides Page permissions.) |
| Manage Organizations | Allows the user to access the Administrative side of Vidigami. |
| Manage Users | User can add and edit users in the organization, invite and un-invite users, update user relationships, manage roles, manage integrations, and access individual user's space. |
| Upload Media | User can upload media based on supported formats. |
| Public Sharing | User can make a Collection Slideshow accessible via a public URL. |
|
Create Pages |
Allows users to create Pages. |
| Create Collections | User can Create Collections. |
| Tag Other People | Allows users to manually face tag any user. If this option is not selected, the user can only tag themselves and their child(ren)/ |
| View User Consent Levels | If Consent Management is being used, with this option selected, users will see the colored triangles indicating there is a tagged user in the photo with a consent level other than unrestricted. |